New Container Type
Note: The container feature is scheduled for a future release. Access to this feature may only be available with the ‘Complete’ edition. Ask your Wasp representative for details.
A container type is a specific classification of containers used to hold and transport goods. Containers come in various shapes and sizes, each designed for different types of cargo and transportation needs. Common container types include standard containers, refrigerated containers, open-top containers, and flat rack containers, each serving a unique purpose to ensure safe and effective transport. The user's role should have container permission enabled to use this feature.
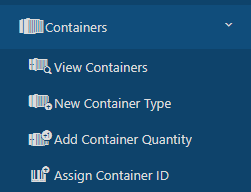
- To add a container type, click on the New Container Type.
- On the New Container, screen, there are two tabs - General and Attachments.
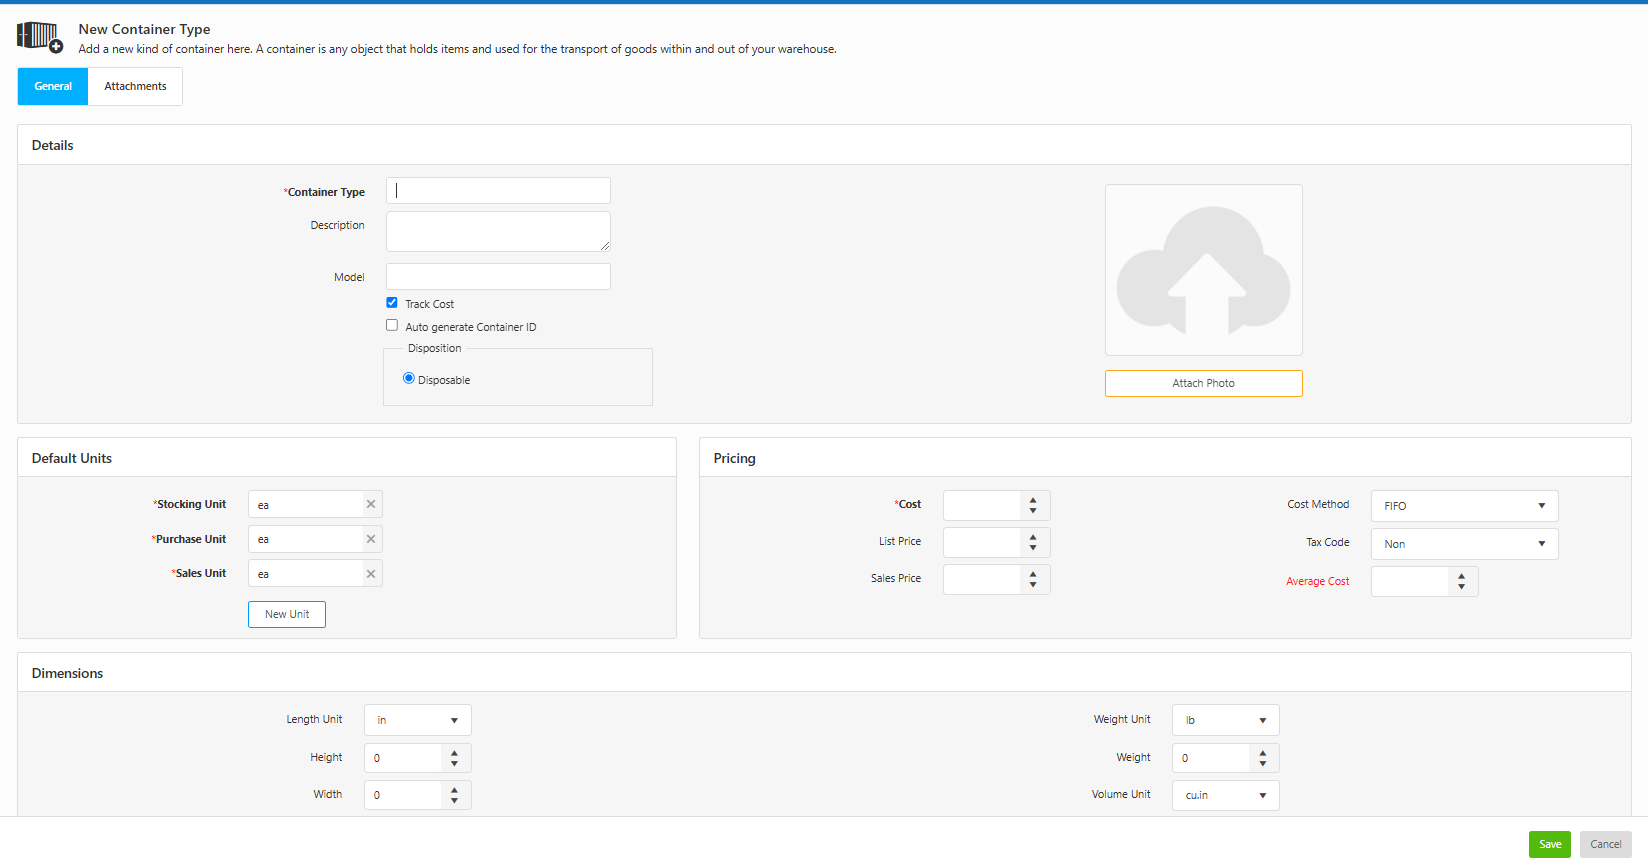
General Tab
- On the Details section, enter the following information:
- Container Type (required field) - A unique identifier for the container.
- Description - A brief description of the container.
- Model - The model or type of the container.
- Track Cost - Track cost is used to monitor and record all the expenses associated with the use of different container types. By default, the checkbox will be checked. The pricing details section will be hidden if it is unchecked.
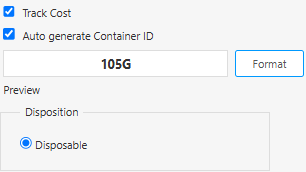
- Auto Generate Container ID - This option allows the system to automatically generate a Container ID for the container. Select this checkbox if you want the system to automatically create the Container ID when adding container quantities on the Add Container Quantity screen.
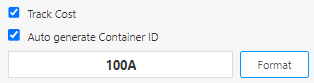
To format the Container ID, click on the Format button. The screen will navigate to the Number Series screen. Refer to the topic Customizing the Container ID for more details.
- Disposition - Disposition indicates how the container of this container type is to be used: whether it is meant for single-use, multiple uses, or if it should be returned or discarded after use. Currently, the available option is Disposable.
- On the Pricing section, enter the following details:
- Cost (required field) - Enter the amount paid for one unit of this container type. Cost handling in InventoryCloud is designed to show you the average cost and current value of your inventory. You can also use this cost information for other purposes, such as determining pre-tax and purchase order totals and receiving totals. This amount represents your cost for purchasing one of the base units for this item.
- Sales Price - Enter the selling price of this container type. This field is for your information only and is not included in any reports. The price entered here is the price that appears in the Price field on Pick Orders.
- Cost Method - Choose how you want the application to calculate the cost. The options are:
- Moving Average - When this method is used, the average cost of a particular item is recalculated based on each purchase. Cost is calculated on the item level.
- FIFO - When this method is used, the inventory that is added first is removed first. Cost is calculated on the item level.
- LIFO - When this method is used, the inventory that is added last (most recently) is removed first. Cost is calculated on the item level.
- List Price - Enter the manufacturer's list price for reference. This field is for your information only and is not included in any reports.
- Average Cost - This value averages the cost paid for the current quantity. It will be blank when creating a new container type but will appear on the Edit Container Type screen for containers with inventory (quantity). When calculating the Average Cost, the software does not include records that have an average cost of zero. When you run an Inventory Cost Report, the software does include zero-cost quantities when calculating Total Cost.
- Tax Code - Specify if the container type is taxable or non-taxable.

- On the Default Unit
- Stocking Unit - Select the stocking unit. When entering the stocking unit, you need to pick the smallest unit of measure that you will use to remove a whole container. A good test to use when deciding what the stocking unit should be is to think about your answer would be if you were asked to count how many of this container type you have. For example - If the container holds 20 scanners, then "each" or "ea" is the stocking unit. "Each" is commonly used when the item does not fit standard measurement units.
- Purchase Unit - This is the unit of measure used when you buy this container type from your vendor. Example - This might be a pallet rather than a box.
- Sales Unit- This is the unit of measure used when you sell an item. For example, you may have a stocking unit of Carton that holds 10 boxes of nails but sells them by the box. In this example, the Sales Unit would be the box.

Note: The Base unit of measure (UOM) for containers must be discrete. The default UOM for containers is "ea = each" UOM flagged as discrete
Refer to the topic - Handing UOM for Containers and How to use Units of Measure of different types for more information on Units of Measure (UOM).
- On the Dimensions section, enter the following details
- Size Details: Length Unit, Height, Width, Depth, and Volume.
- Weight and Capacity Details: Weight Unit, Weight, Volume Unit, and Max Volume.
Attachment Tab
- Attach any relevant documents related to the newly added container type.
- Click on the Attach file button.

- The Attach File popup window will appear. Click on Select Files.
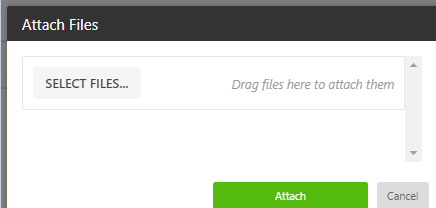
- Browse for the document you want to attach: Either select the file from the folder Or drag and drop the document into the Attach File popup window.
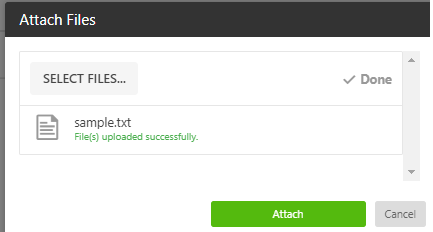
- Click Attach. The document will appear on the Attachment tab.

- To edit the attachment, click on the Edit button. You can update the file name here. Click Update to save changes. To remove the attachment, use the Trashcan icon.

Custom Fields
- Fill in all the custom fields, if any. The custom fields are added in the Form Customization screen.

Note that the custom fields can be added in any section under any tabs.
- Click on Save. A success message will appear.
- The added container type can be viewed on the View Container screen and View Items screen.
View Items

View Container

View/Edit Container Type
To edit a container type, follow these steps:
- Go to the View Items/ View Container screen.
- Search for the container type you want to edit on the "View Items" or "View Container" screen.
- Click on the Item Number, which is a hyperlink that will direct you to the 'View/Edit Container Type' screen.
- On the View/Edit Container Type screen, you can make the following updates:
- Update the Container Type name.
- Modify the Description and Model.
- Check or uncheck the options for Track Cost, Auto Generate Container ID, and Disposition.
- To format the Container ID, click on the Format button. The screen will navigate to the Number Series screen. Refer to the topic Customizing the Container ID for more details.
- Adjust the Pricing, Default Units, and Dimensions.
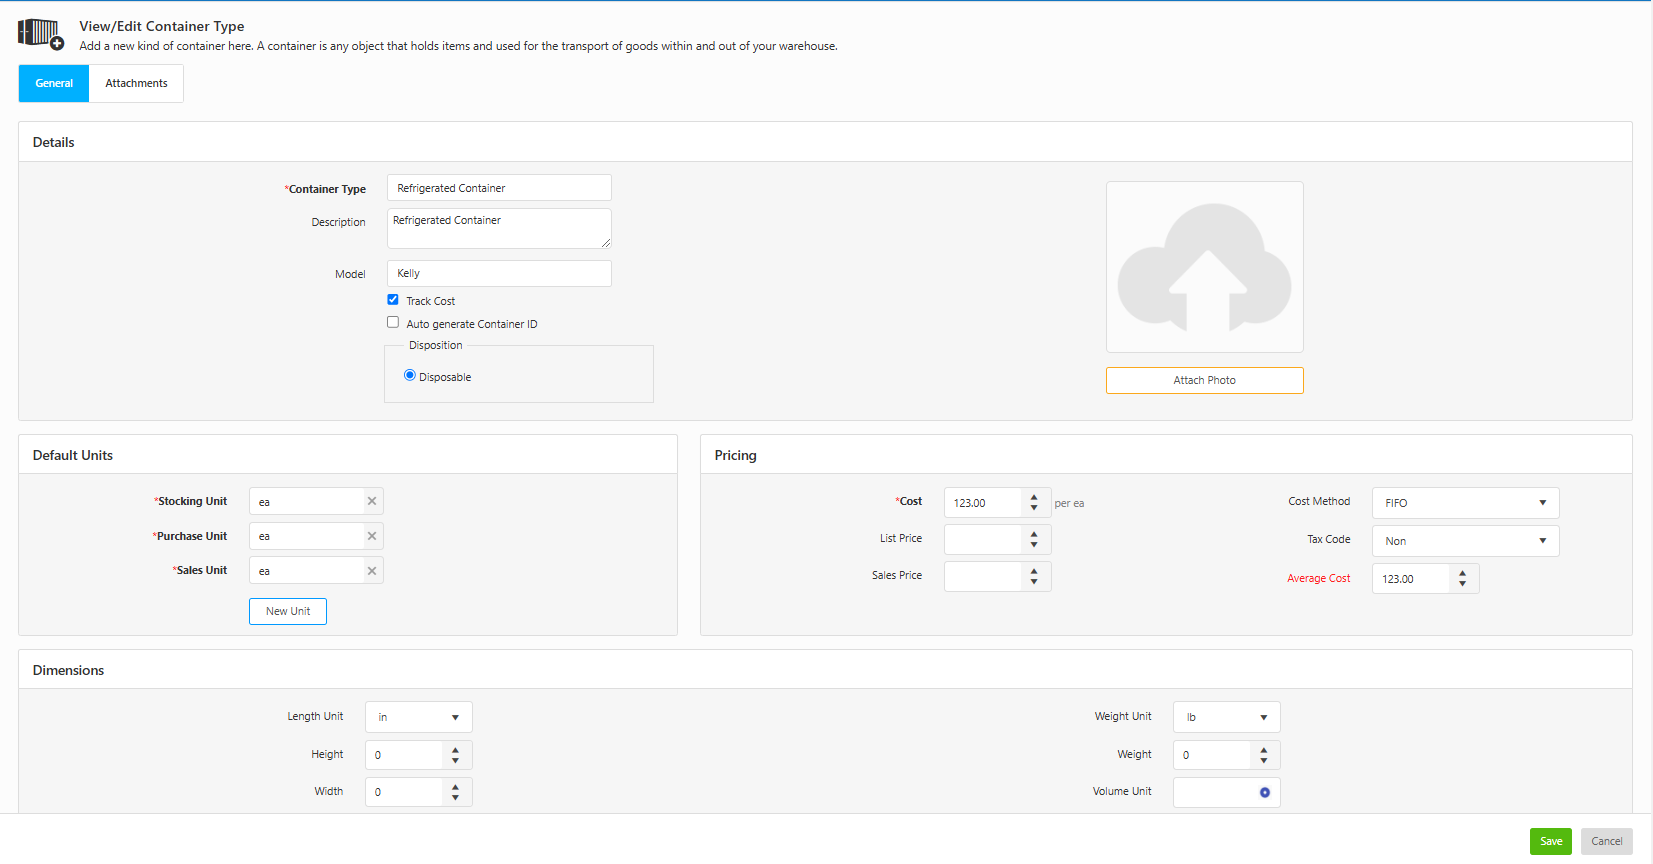
- After making your changes, click Save to apply them, or use Cancel to discard the changes.
Handing UOM for Containers
- The base unit of a Container will be Discrete, with "Each" as the default. The Purchase Unit and Sales Unit will be related to that Base Unit. UoM values will be integral, disallowing the entry or display of fractional quantities for any item with a Discrete Base Unit, including containers.
- If no Discrete UoMs are present, creating a Container type is not allowed.

- In the absence of Discrete UoMs, users will be able to add a new Discrete UoM to re-enable the creation of Container types.