New Customer
The New Customer screen allows you to enter new customer details into the database. Customers, like employees, can have items checked out to them.
To add a new customer:
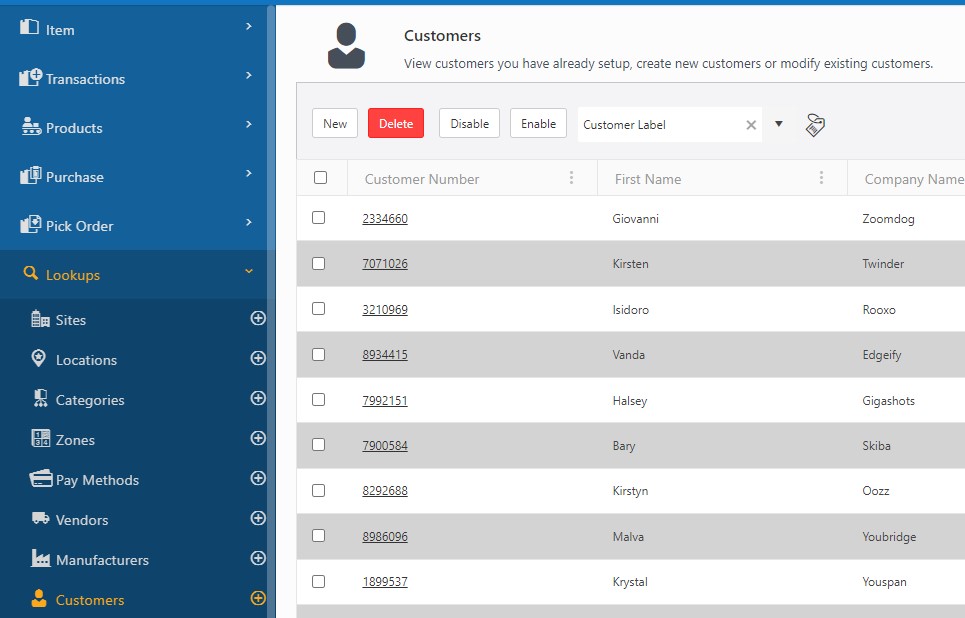
Click on Lookups -> Customers -> New button Or click on Lookups -> Customers ->  button.
The New Customer screen will appear.
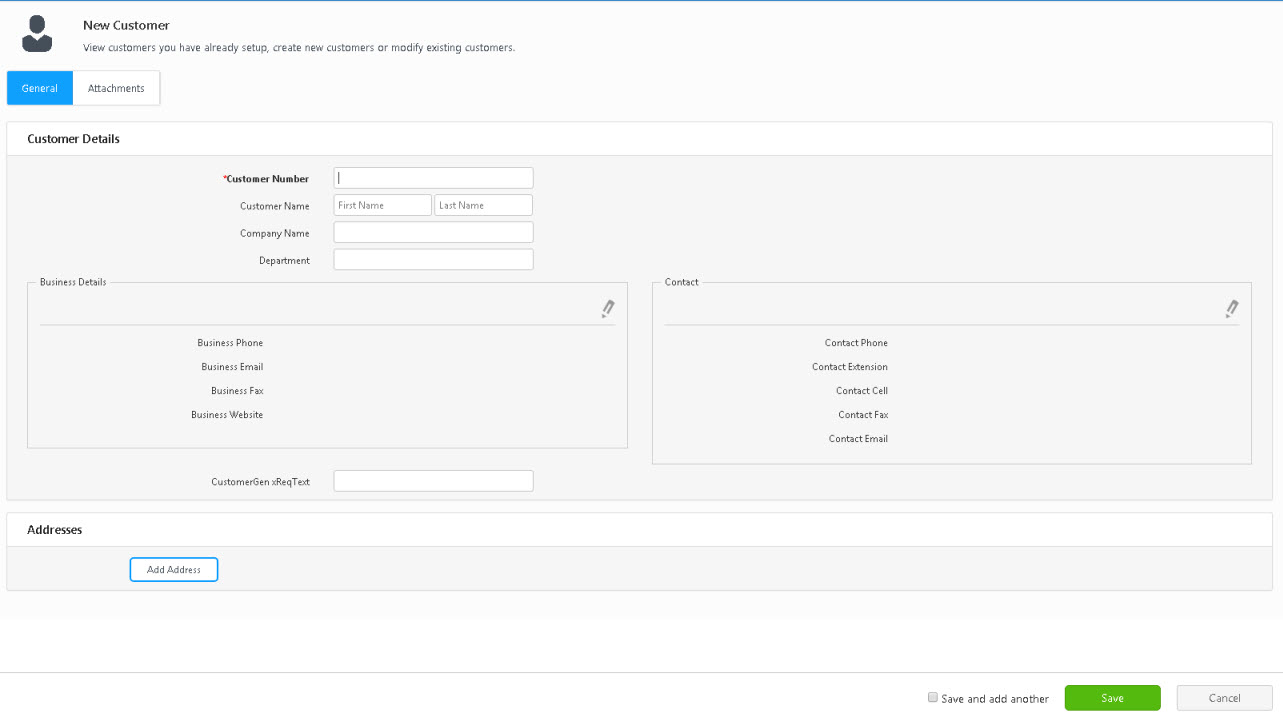
Customer Details
- Enter the Customer Number (mandatory).
- Enter the Customer Name.
- Enter the Company Name.
- Enter the Department.
- Business Details - Click on the
 icon to add the details. Enter the Business Phone Number, Business Email, Business Fax, and/or Website details.
 - Contact - Click on the icon to add the details. Enter the Contact Phone, Contact Extension, Contact Cell, Contact Fax, and/or Contact Email.
- Addresses - Click on the Add Address button to add an address.
- Select the type of address you are adding using the Address Type dropdown menu.
- You can create a new address type by clicking in the Address Type field and entering a new name.
- Enter the complete address and Click on the Update button.
- To add additional addresses, click the Add Address button again (you may have to scroll down to see the Add Address button).
- To edit, click on the button to edit the address details.
- To delete an address, click on the Delete button.
Attachment tab
- Click on the Attach Files button. The Attach Files screen will appear.
- Click on the Select Files button.
- Drag and Drop - You can drag a file from a folder in Windows Explorer and drop it into the Attach Files window. Make sure the Select Files area is highlighted before dropping.
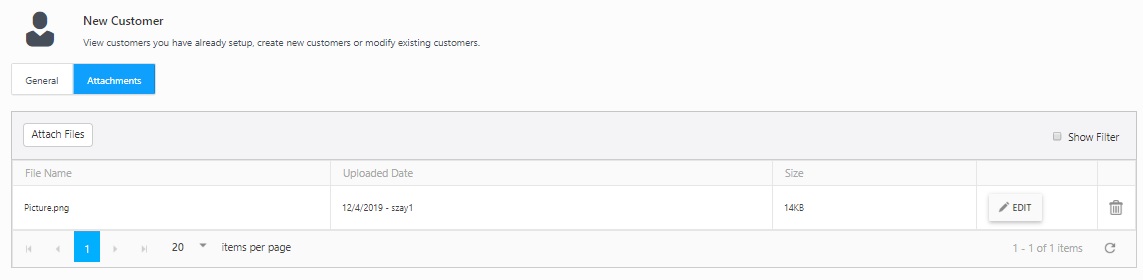
- Click on the Edit button to edit the details. To delete an attachment, click on the delete button.

- Click on the Save button. A message will appear, indicating that a new customer has been added.
- To add more customers, you can either access Lookups -> Customer -> button or click Save and add another checkbox before saving. A new customer screen will appear on saving.

Refer to the topic Customer Lookup under Lookups for more details.