iOS New Item
Inventory Items can be created on the mobile device (all other item types must be created on the PC).
Tap on the Inventory > New Item.

The New Item screen appears.
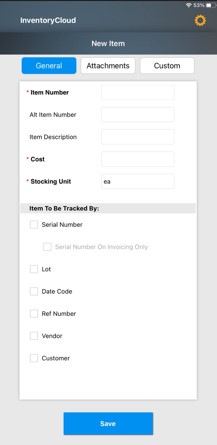
Note: Fields that are followed by an asterisk (*) are mandatory. Also, you can lock the field, refer iOS Pinning Data. The Magnifying Glass icon next to New Item heading will navigate to the Search Items screen where you can Search By Items or Search By Site and Location.
General Tab
Note: You can use the keyboard to enter the information in any field. Or If you want to scan a barcode, use the Barcode scanner. Tap on the Barcode symbol, the scanner will appear. Scan the barcode and the field will display the scanned barcode number.
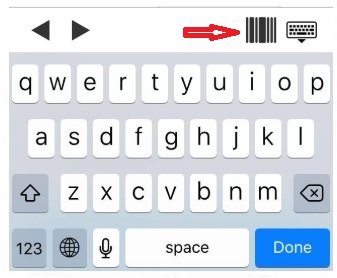
Enter the Item Number.
Enter the alternate Item Number.
Enter the Item Description.
Enter the Cost.
Select the Stocking Unit. Tap on the arrow button, a list will appear. Choose the stocking unit from the list.
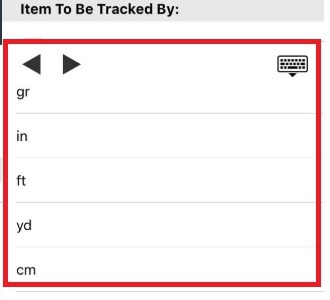
Items to be Tracked By:
Tap on the checkbox to select the method with which you want to track your Items. The options are Serial Number, Lot, Date Code, Ref Number, Vendor, Customer.
Serial Number On Invoicing Only will be enabled once you select the Serial Number.
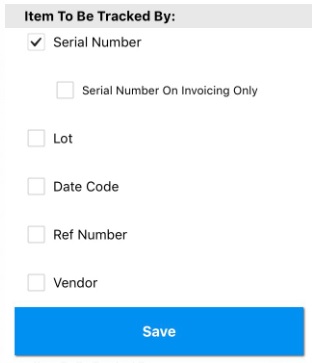
Auto Generate Serial Number will appear on selecting Serial Number. Tap on it, if you want to automatically generate the serial number.
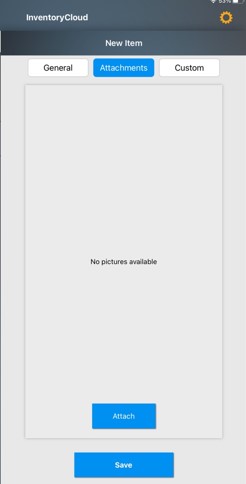
Attachments
Tap on the attachment tab to add pictures. Tap on Attach button. The pictures can be taken using the camera or from the Gallery. You can add multiple pictures. Click on Save to save the changes.
Custom Tab
Tap on the Custom tab, and fill all the fields, especially the mandatory fields.
Tap on the Save button.
A message will appear indicating that the Item was saved successfully.