Android Receive
When you receive inventory on a purchase order you created in the system, you mark that inventory as received on the Receive screen. This screen allows you to select which purchase order you are receiving and to mark individual items on that purchase order as received in a specific location. You can also optionally view costing information on this screen.
Also, refer to Ordering Settings to turn on or off the receive order related settings.
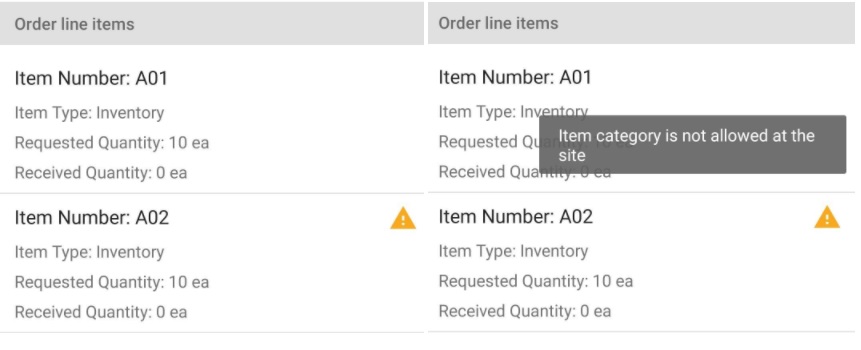
Site-Item/Category Restrictions
While receiving the order, if the item to be received (in the queue) falls in the Order Site-Item/category restrictions, then a warning message will appear and on hover, it will show a message indicating that "Item category is not allowed at the site.” and the location field will be restricted i.e. it will not display or allow to select the location.
Receive Inventory
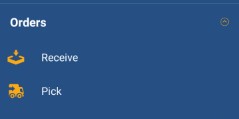
- Select Orders > Receive.
- The Receive screen will appear. This screen allows you to search for the purchase order from which you want to receive inventory.
- With Site Restrictions Enabled on the Web (Manage > Roles > Site Restrictions), the user will only see the Global Purchase Orders not assigned to any site and those Local Purchase Orders assigned to a site to which the user has access.
- With Working Sites Enabled, the user will see the Purchase Orders available in the allowed sites. They can also find other Purchase Orders by typing the exact Purchase Order number/name, provided the number/name is an exact match and within the site permissions.
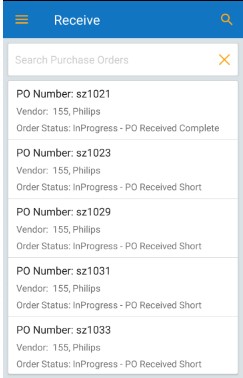
- Select the PO Number to navigate to a page displaying all the item numbers associated with that PO.
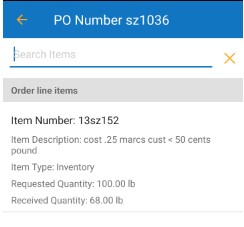
- The Receive screen will appear.
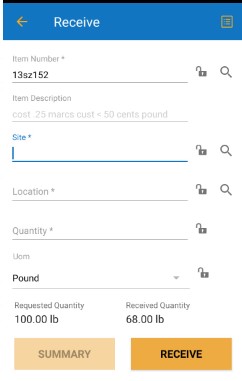
- The item number will be already displayed. You can search for the item number too. For more details, see the topic "search items on the view items screen".
- The item description will automatically populate based on the details provided during item creation. This field will be read-only. In some cases, the site and location may also autofill.
- Enter or select the site. For more information, refer to the search site topics.
Note: The site will be read-only if you are receiving a site-specific purchase order, and the location field will only display the locations associated with that particular site.
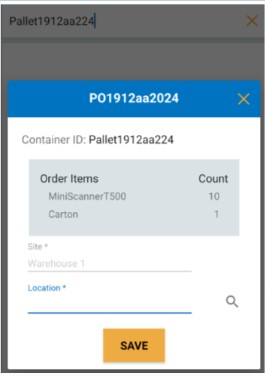
- Enter or select the location or container. For details, refer to "search locations".
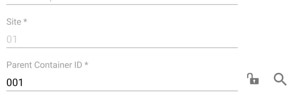
- On selecting a container, the location field will get updated to Parent Container ID. Note: The container feature is scheduled for a future release.
- Provide the track-by details.
Note: If items are tracked using track-by options, such as serial number, lot number, or date, the respective fields will appear. If the item is tracked by serial number, the quantity will always be 1, as each item will have a unique serial number.
- Enter the quantity. The Requested Quantity and Received Quantity will be displayed below the quantity field.
Note: If the item has any tracking requirements (such as serial number, date code, or lot), you will need to provide that information. For items tracked by Serial Number, the quantity will be limited to 1.
- Select the UOM.
- Tap on Receive.
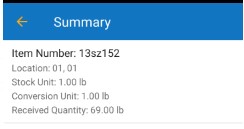
- After tapping on Receive, a number will appear on the Summary button, representing the total number of received transactions you've completed. You can continue adding inventory to different items as needed.
- When you are done, click on the Summary button. The Summary screen appears listing all the Receive transactions.